 Skip to main content

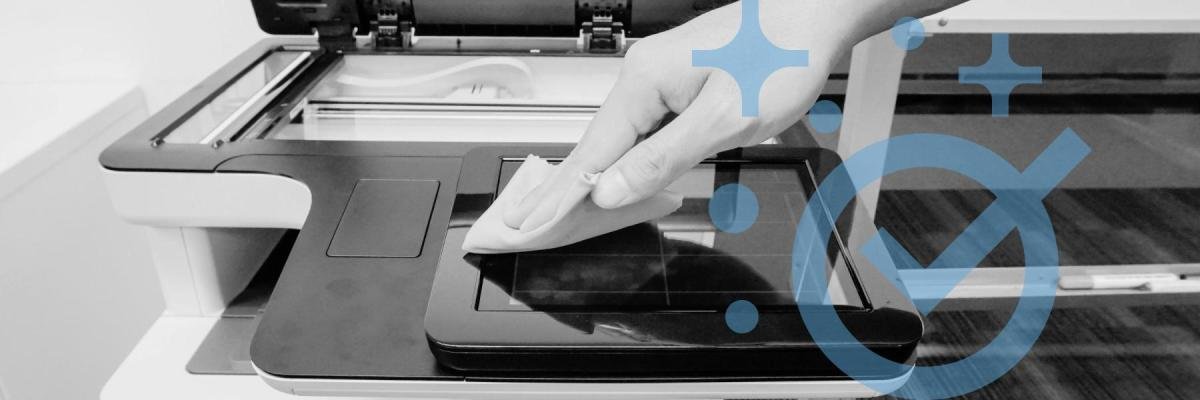
Regardless of your printer type, regular cleaning helps keep it running smoothly and can prevent common issues like poor print quality, paper jams, and dirty scans. However, it’s important to know how to clean properly, as doing it incorrectly can damage your printer.
We’ve maintained and repaired printers for over 40 years. In this guide, we'll share what we know about safely cleaning both the inside and outside of your printer using manufacturer-recommended best practices. While many of the examples come from our experience with Xerox equipment, these general cleaning methods can apply to most printer brands.
You'll also learn when your printer needs cleaning, the difference between cleaning an inkjet and laser printer, common mistakes to avoid, and what to do if cleaning doesn't solve the problem.
Table of Contents
- Short Answer: How Do You Clean a Printer Safely?
- What Are the Signs Your Printer Needs Cleaning?
- Does Cleaning an Inkjet Printer Differ From Cleaning a Laser Printer?
- Why Is It Important to Clean Your Printer?
- How to Clean the Outside of a Printer
- How to Clean the Inside of a Printer
- Common Printer Cleaning Mistakes to Avoid
- How Often Should You Clean Your Printer?
- FAQ
- What to Do If Cleaning Doesn't Fix the Problem
Short Answer: How Do You Clean a Printer Safely?
The safest way to clean a printer is to turn it off, unplug it, wipe the exterior with a soft, lint-free cloth, and clean only the components your manufacturer recommends. Avoid spraying liquid directly onto the printer, using harsh chemicals, or touching delicate parts such as the imaging drum on a laser printer.
For most printers, the process looks like this:
- Turn off and unplug the printer.
- Remove paper and, if needed, the ink or toner cartridges.
- Wipe the exterior with a lint-free cloth lightly dampened with 70% isopropyl alcohol.
- Remove dust from accessible areas following your manufacturer's recommendations.
- Run the printer's built-in cleaning or maintenance cycle, if available.
- Allow the printer to dry completely before turning it back on.
By regularly cleaning your printer, you help maintain print quality and prevent common printer problemsbefore they require repairs.
What Are the Signs Your Printer Needs Cleaning?
Your printer will often show signs that it's time for a cleaning before a bigger problem starts.
Common signs include:
- Streaks, smudges, or spots on printed pages
- Faded or inconsistent print quality
- Lines appearing on scanned or copied documents
- Frequent paper jams or paper feeding issues
- Dust, toner, or paper debris inside the printer
- Fingerprints or buildup on the scanner glass or control panel
These symptoms are often caused by dust, toner residue, or dirty rollers. Cleaning removes that buildup and helps your printer perform better.
If the problem persists after cleaning, the issue may be a worn part or another mechanical problem not related to dirt.
Does Cleaning an Inkjet Printer Differ from Cleaning a Laser Printer
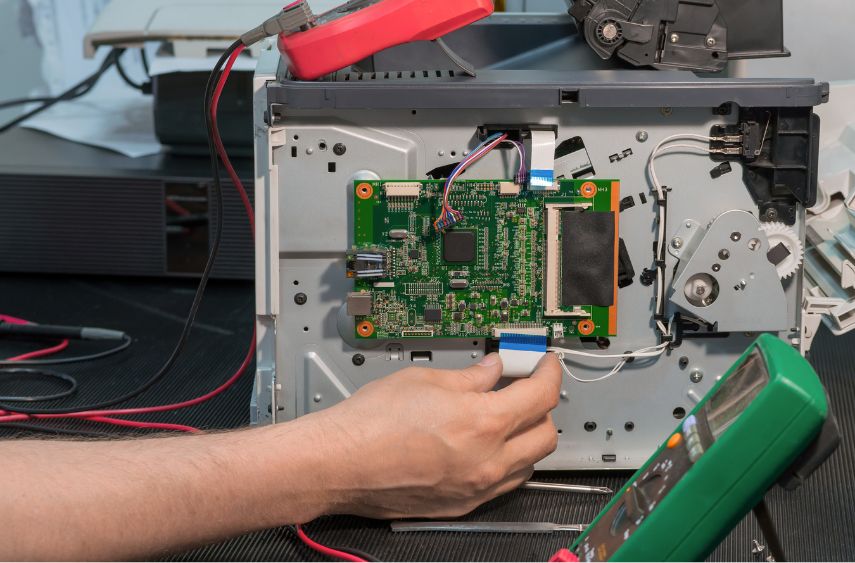

Yes. Inkjet and laser printers use different printing technologies, so they also need different cleaning methods.
Inkjet printers spray liquid ink through tiny nozzles, so maintenance often focuses on preventing clogged printheads.
Laser printers use toner, rollers, and an imaging drum to produce documents. Cleaning usually focuses on removing dust and toner buildup while avoiding sensitive components like the drum.
Knowing which type of printer you have helps you clean it safely and avoid damaging parts that aren't meant to be handled.
Why Is It Important to Clean Your Printer?
Regular printer cleaning helps improve print quality, reduces dust buildup, and can extend the life of your printer.
Over time, dust, paper fibers, and toner particles naturally collect inside and outside the machine. As that buildup increases, it can contribute to paper jams, streaks, dirty scans, and inconsistent print quality.
Routine cleaning helps prevent these issues before they become bigger problems. It also keeps important components working properly and reduces unnecessary wear on your printer.
There are two main ways to maintain your printer:
- Manual cleaning, which involves cleaning approved areas such as the exterior, scanner glass, and paper rollers.
- Software-based maintenance, which uses built-in cleaning, alignment, and calibration tools to keep your printer performing its best.
Together, these maintenance practices help keep your printer reliable and your documents looking professional.
How to Clean the Outside of a Printer
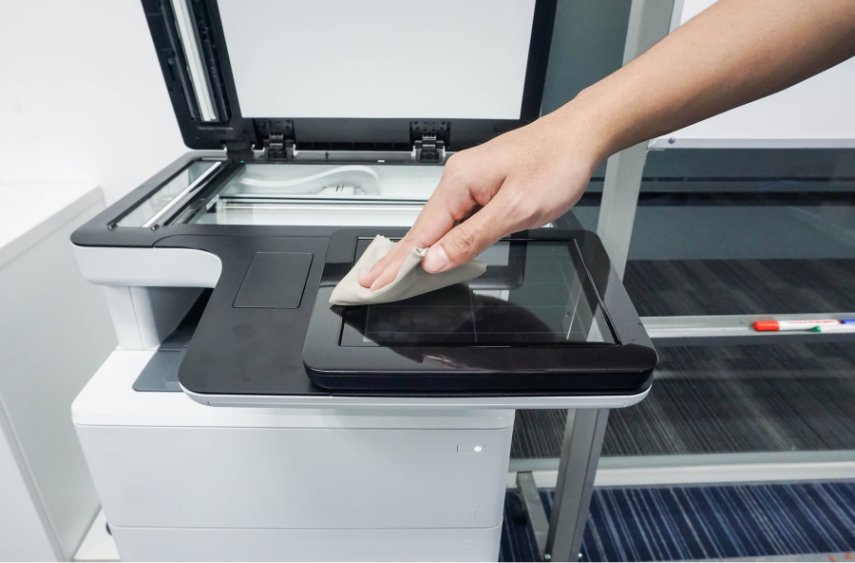
The outside of your printer collects dust, fingerprints, and paper debris over time. To safely clean the outside of a printer, turn it off, unplug it, and wipe the exterior with a soft, lint-free cloth lightly dampened with 70% isopropyl alcohol. Never spray cleaner directly onto the printer or allow moisture to get inside the machine.
While these steps are based on Xerox's recommendations, you can apply them to most laser and inkjet printers. Always check your printer manufacturer's instructions for any model-specific recommendations.
What You'll Need
- Soft, lint-free microfiber or cotton cloth
- 70% isopropyl alcohol (rubbing alcohol)
- Latex or nitrile gloves (optional)
Avoid paper towels or abrasive cloths, which can scratch screens and leave lint behind.
Step-by-Step: Cleaning the Outside of Your Printer
Turn Off and Unplug the Printer
Always turn off the printer and unplug it before cleaning. This helps protect both you and the printer.
Remove Paper and Accessories
Take any paper out of the trays and remove accessories if they're easy to detach. This makes the printer easier to clean and helps keep moisture away from the paper.
Wipe Away Dust
Use a dry, lint-free cloth to remove dust and loose debris from the exterior.
Remove Fingerprints & Dirt
Lightly dampen your cloth with 70% isopropyl alcohol and gently wipe the exterior surfaces.
Clean the Control Panel
Wipe the display and buttons gently with the same cloth. If your printer has a touchscreen, wipe in one direction instead of scrubbing to help prevent scratches.
Clean the Paper Trays
Wipe the paper trays and feeders to remove dust and paper fibers.
Allow them to dry completely before reloading paper.
Let the Printer Dry
Before plugging the printer back in, make sure all surfaces are completely dry.
Pro Tip: If you're cleaning multiple shared office printers, use a fresh cloth for each machine. This helps prevent dirt and toner residue from being transferred between devices.
How to Clean the Inside of a Printer
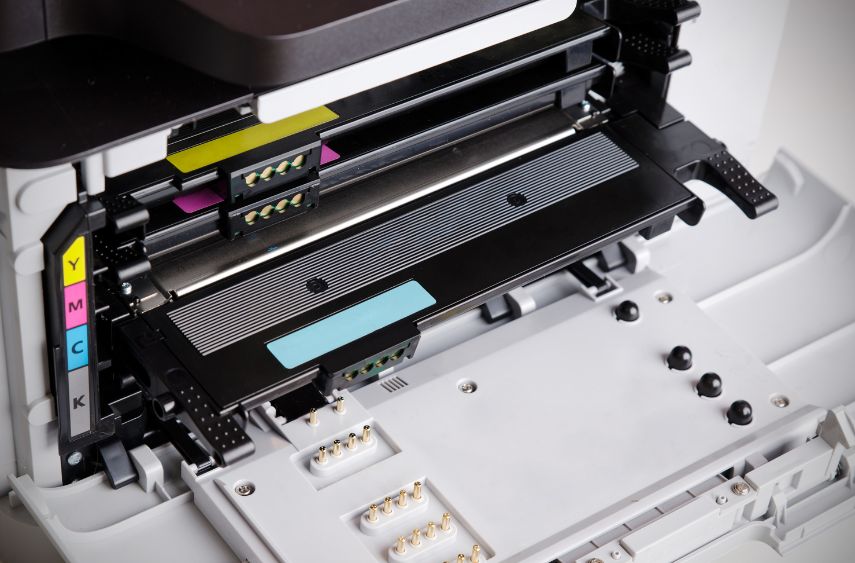
Cleaning the inside of a printer requires extra care. Only clean areas recommended by your manufacturer, and avoid touching delicate components like the imaging drum on a laser printer.
Unlike the exterior, the inside of your printer contains sensitive parts that can be easily damaged.
Before You Clean the Inside of Your Printer
Before removing cartridges or cleaning internal components, check whether your printer includes a built-in maintenance or cleaning cycle.
Many inkjet printers can automatically clean the printhead, while many laser printers include calibration and maintenance tools that help resolve minor print quality issues. Running these features first may solve the problem without needing to manually clean the inside of the printer.
If the issue persists, continue with the manual cleaning steps below.
Step-by-Step: Cleaning the Inside of a Printer
Turn Off and Unplug the Printer
Always begin by powering off and unplugging the printer.
Remove the Ink or Toner Cartridges
Carefully remove the cartridges according to your manufacturer's instructions and place them on a clean, flat surface.
Remove Loose Dust and Debris
Look for loose paper scraps, dust, or toner residue in accessible areas.
Follow your manufacturer's recommendations for cleaning these areas.
Clean the Areas That Are Safe to Touch
The cleaning process depends on your printer type.
Inkjet printers
- Run the built-in printhead cleaning cycle first.
- If recommended by the manufacturer, manually clean the printhead.
- Wipe accessible rollers if needed.
Pro Tip: Before manually cleaning the printhead, run your printer's built-in printhead cleaning cycle. In many cases, it clears dried ink and restores print quality without taking the printer apart.
Laser printers
- Clean accessible paper rollers with a lint-free cloth if recommended.
- Carefully remove loose toner or dust from approved areas.
- Avoid touching the imaging drum unless your manufacturer specifically instructs you to do so.
Reinstall the Cartridges
Once everything is dry, reinstall the cartridges and close the printer.
Print a Test Page
Print a test page to make sure the printer is working properly and the print quality has improved.
Common Printer Cleaning Mistakes to Avoid
Cleaning your printer incorrectly can damage sensitive components and create bigger problems than the dust you're trying to remove.
Here are some of the most common mistakes to avoid.
Spraying Cleaner Directly on the Printer
Always apply the cleaning solution to your cloth instead of the printer.
Spraying liquids directly onto the machine can allow moisture to reach internal electronics.
Using Harsh Household Cleaners
Avoid products containing:
- Bleach
- Ammonia
- Abrasive cleaners
- Strong solvents
These chemicals can discolor plastic and damage your printer's finish.
Using Paper Towels
Paper towels can scratch display screens and leave lint behind.
Instead, use a soft microfiber or lint-free cloth.
Touching the Imaging Drum
If you own a laser printer, avoid touching the imaging drum.
Even fingerprints can damage the drum and affect print quality.
Using the Wrong Vacuum
Avoid using a household vacuum inside your printer.
Fine toner particles can pass through ordinary vacuum filters, and static electricity may damage sensitive electronic components.
Powering the Printer On Too Soon
Always allow the printer to dry completely before plugging it back in and turning it on.
How Often Should You Clean Your Printer?
Most business printers should be cleaned every few months, while heavily used office printers can be cleaned monthly. Your printing cleaning schedule will vary based on how often you print, your work environment, and your printer type.
For example, a desktop printer that prints a few pages each week won't need as much attention as a multifunction printer that handles hundreds of pages every day.
Don't rely only on a calendar. If you notice streaks, smudges, dirty scans, paper jams, or visible dust inside the printer, it's a good idea to clean it sooner.
Regular cleaning helps remove dust before it affects print quality. It also gives you a chance to spot small issues before they become larger repairs.
FAQ
Can you use rubbing alcohol to clean a printer?
Yes, in most cases. A soft, lint-free cloth lightly dampened with 70% isopropyl alcohol is good for cleaning the exterior surfaces of many printers. Never spray alcohol directly onto the printer, and always follow your manufacturer's cleaning recommendations.
Can you clean the inside of a printer yourself?
Yes, but only certain parts. You can safely clean areas such as paper trays, accessible rollers, and loose dust if your manufacturer recommends it. Avoid touching delicate components like the imaging drum in a laser printer.
Should you use compressed air to clean a printer?
It depends on the manufacturer. Some manufacturers recommend it for specific situations, while others advise against it because high-pressure air can push dust deeper into the printer or introduce moisture. Always check your printer's documentation before using compressed air.
How long does it take to clean a printer?
For routine maintenance, cleaning most printers takes 10 to 20 minutes. If you're also running built-in maintenance cycles or cleaning multiple components, it may take a little longer.
Can cleaning fix poor print quality?
Sometimes. Cleaning often resolves issues caused by dust, dirty rollers, clogged printheads, or debris on the scanner glass. However, cleaning won't fix worn rollers, damaged drums, failing fusers, or other mechanical problems.
Should you run your printer's built-in cleaning cycle?
Yes. Many inkjet and laser printers include automatic maintenance tools that clean, align, or calibrate important components. Running these tools regularly is often the safest first step when you notice print quality issues.
When Cleaning Isn't Enough
If your printer still has problems after you've cleaned it, there may be a worn or damaged component that needs attention. Some of the most common issues that cleaning alone won't fix include:
- Persistent paper jams
- Repeating streaks or marks on every page
- Toner or ink that won't adhere properly
- Error messages or warning lights
- Grinding or unusual noises
- Parts that have reached the end of their service life
Trying to continue cleaning a printer with a mechanical problem usually won't solve the issue and may waste time that could be spent getting it repaired.
Keep Your Printer Running Its Best
Whether you use your printer every day or only occasionally, regular cleaning is one of the simplest ways to keep it performing reliably. Just as importantly, knowing what not to clean helps protect delicate components from accidental damage.
Of course, cleaning won't solve every printer problem. If you're still seeing streaks, faded prints, recurring paper jams, or error messages after following the steps in this guide, the issue may be something more than routine maintenance. Don't hesitate to contact the experienced technicians at Strategic Technology Partners of Texas (STPT). We're always happy to help you determine the safest next step.
